End Insulation Bonding Machine: One-Pass Feeding, Bonding and Cutting for Transformer Windings
At the ends of every distribution transformer winding sits a small bonded component most people never notice: end insulation made from narrow pressboard strips joined with bonding paper. It is a simple part with a tedious production process — feed the strip, apply adhesive, press, heat, measure, cut, count. In many insulation workshops, each of those steps is still a separate manual station.
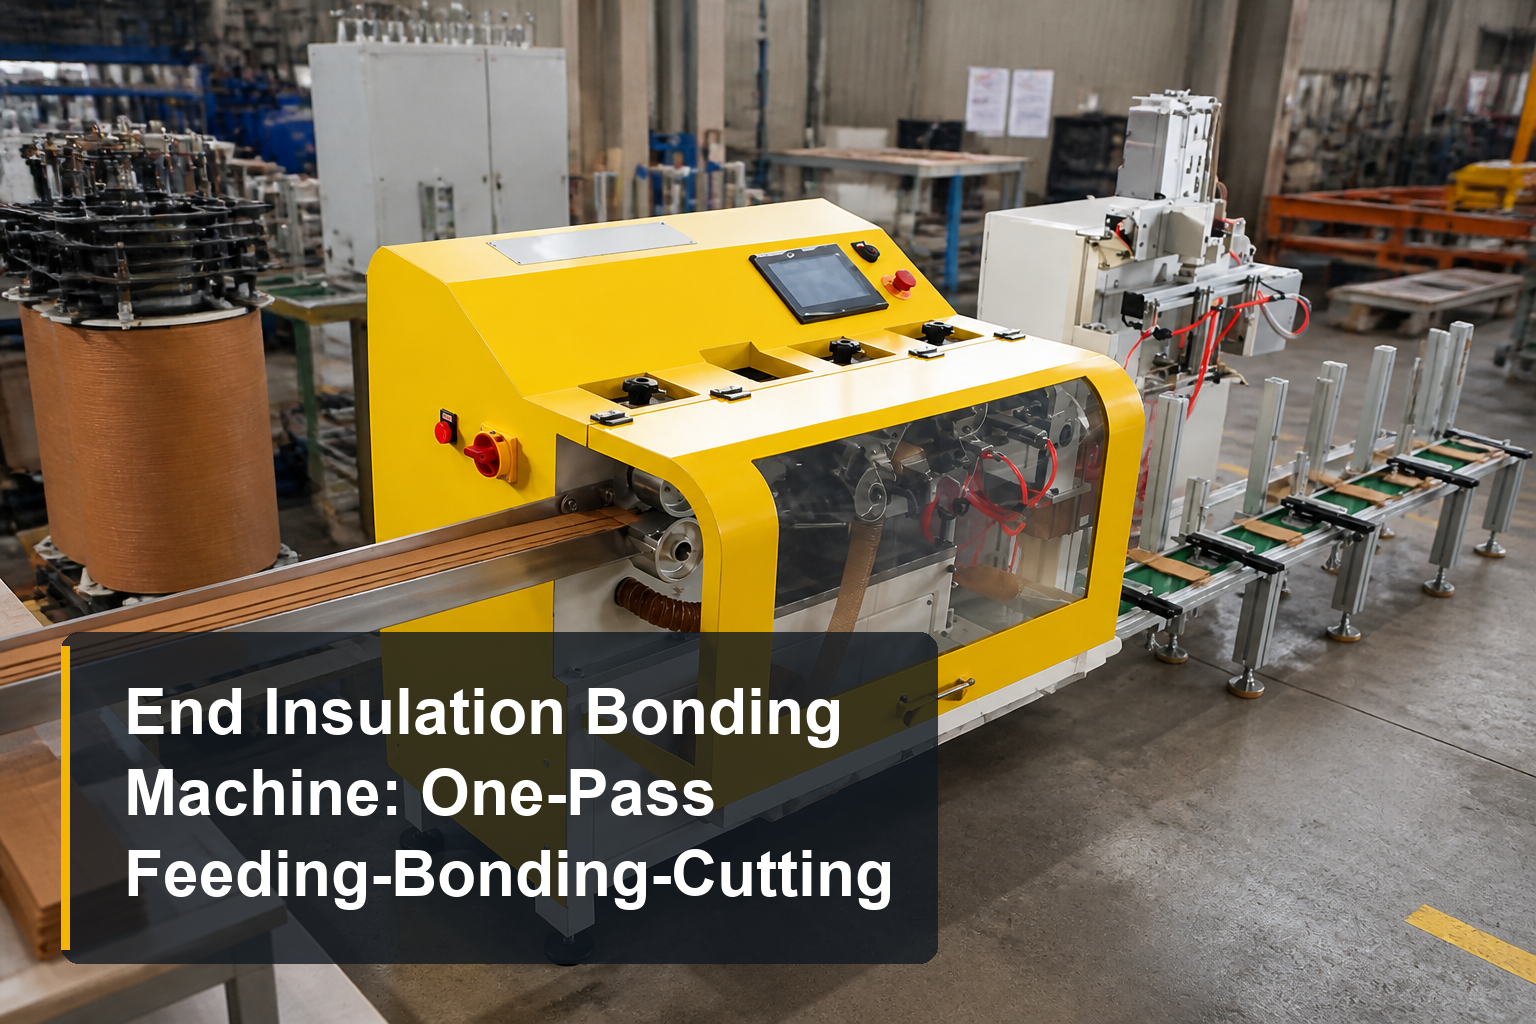
An end insulation bonding machine collapses that chain into one continuous pass. This guide explains how the integrated sequence works, what its specifications mean for daily production, and how to judge whether the machine fits your workshop.
What an End Insulation Bonding Machine Produces
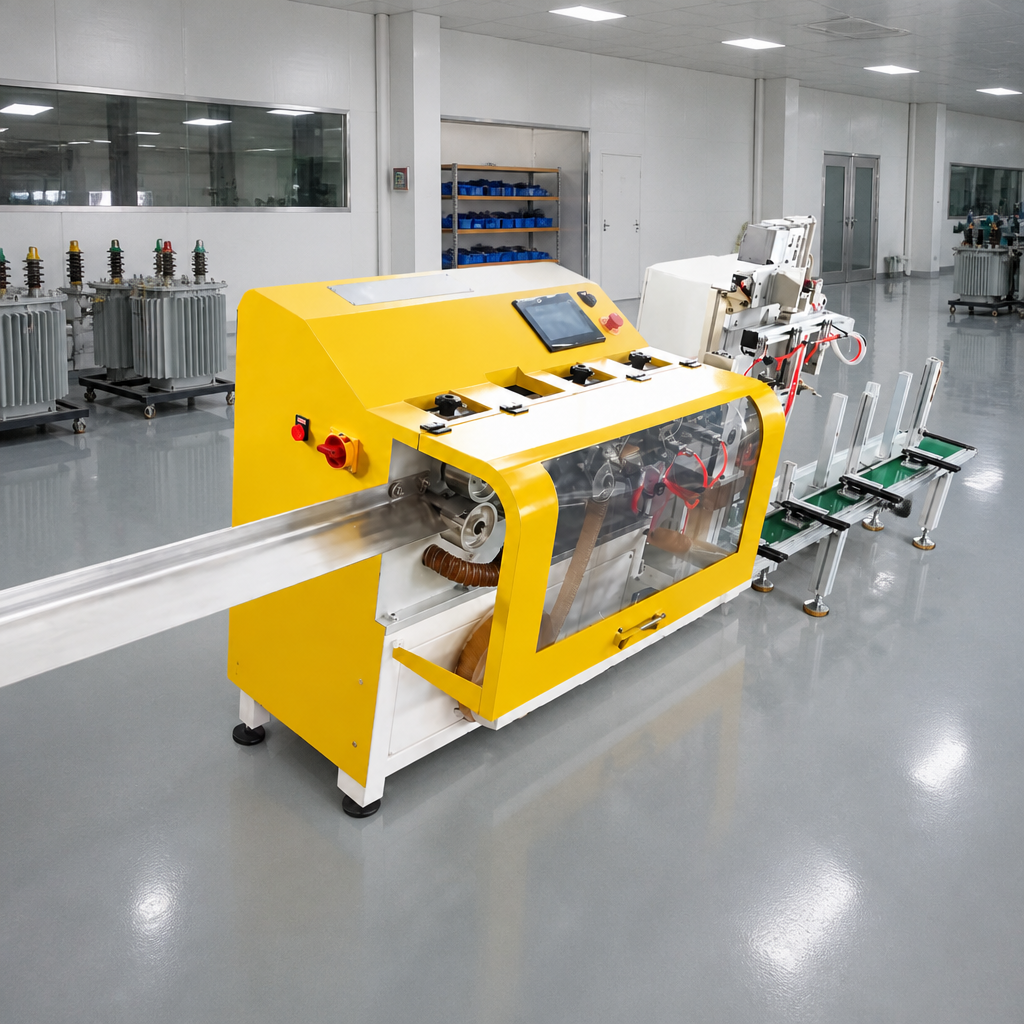
The machine produces bonded end insulation components for transformer windings, working from two inputs: narrow pressboard strips (1–2 mm thick, 7–20 mm wide) and disc-type bonding paper rolls (20–40 mm wide, Φ76 mm inner diameter). The pressboard provides the insulation body; the bonding paper and adhesive hold the layered structure together.
End insulation sits at the winding ends of distribution transformers, where it maintains dielectric clearances and supports the winding structure. Like every part in the transformer insulation parts processing chain, it is a high-volume cellulose component where consistency matters more than any single part’s complexity — a batch that varies in length or bond strength shows up later as assembly problems at the winding line.
How the One-Pass Sequence Works
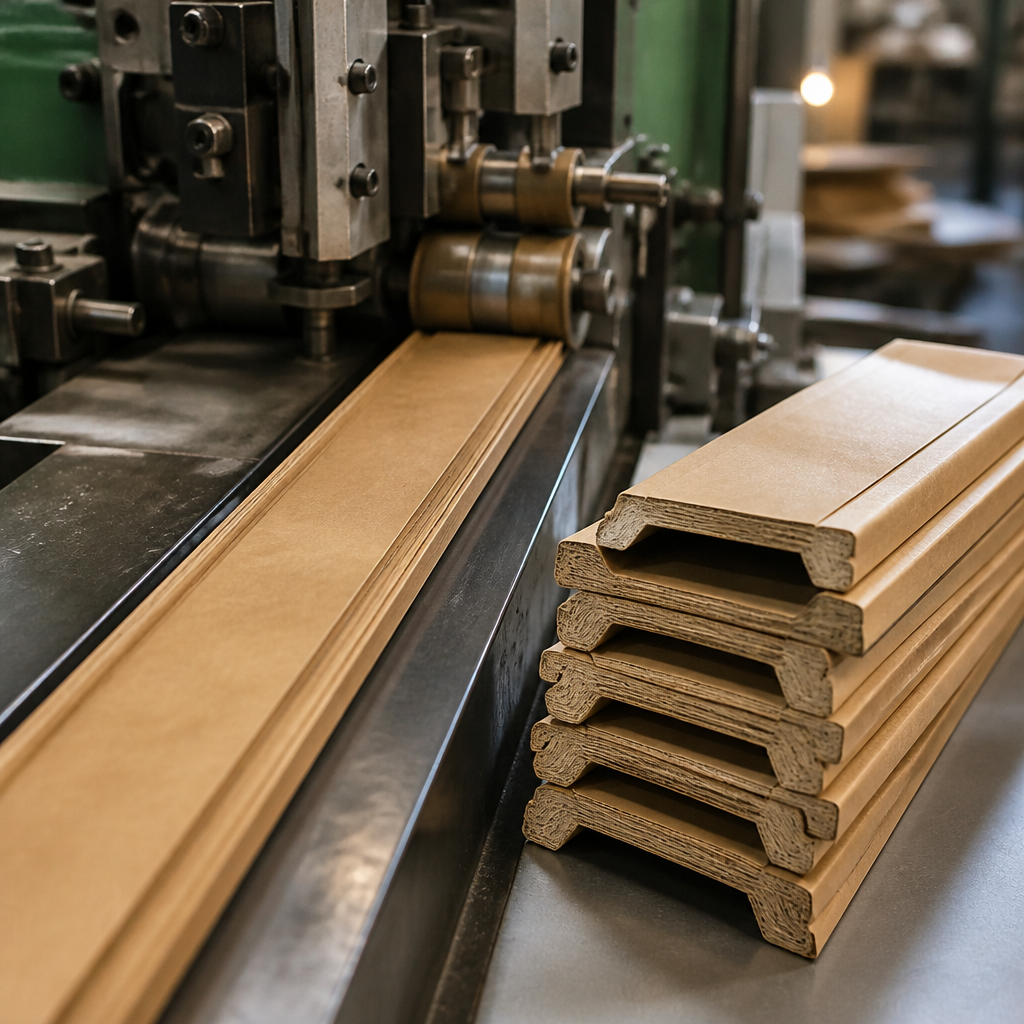
The machine’s value is integration. Six operations that are otherwise separate stations happen in one continuous run:
1. Feeding. Pressboard strips and bonding paper move through the machine together at a processing speed of 12–17 m/min.
2. Gluing. Adhesive is applied automatically as the materials advance — no separate manual gluing station, no operator with a brush.
3. Heating. An integrated 1,000 W heating tube activates and consolidates the adhesive bond as the materials advance.
4. Rolling. Rollers press the heated layers together, so bonding strength is set by the process rather than by how carefully someone pressed each part by hand.
5. Preset-length cutting. The operator enters the required length on the PLC touch screen; the machine cuts automatically at the preset value. Changing part length is a screen entry, not a mechanical changeover.
6. Counting. Finished parts are counted during production for batch quantity control — the same quiet labor saving we described for automatic spacer punching: nobody spends shift time counting pieces, and overproduction stops.
The compounding effect matters more than any single step. Every removed station also removes the material handling between stations — parts are not stacked, carried, re-aligned, and re-fed four times before they are finished.
Key Specifications
| Parameter | Standard Specification |
|---|---|
| Processing speed | 12–17 m/min |
| Pressboard strip range | 1–2 mm thick × 7–20 mm wide |
| Bonding paper | 20–40 mm wide, disc type, Φ76 mm roll ID |
| Main motor | 0.4 kW, 380 V |
| Heating tube | 1,000 W, 220 V |
| Process functions | Feeding, gluing, heating, rolling (automatic) |
| Cutting and counting | PLC preset-length cutting with integrated counting |
Two numbers here deserve a second look:
- 12–17 m/min is a range, not a promise. Actual speed depends on material thickness, adhesive behavior, and required bond quality. When evaluating any bonding machine, ask what speed holds with your strip thickness and your adhesive — the top of the range is usually quoted under ideal conditions.
- The power figures are small on purpose. A 0.4 kW main motor and 1 kW heating tube mean the machine runs on ordinary workshop power without dedicated electrical work — relevant if your insulation room is already crowded with loads.
Who Benefits — and Who Doesn’t Need One Yet
The end insulation bonding machine earns its place when bonded end insulation is a daily or weekly production item:
- Distribution transformer manufacturers producing winding end insulation in recurring batches
- Insulation workshops still running feeding, gluing, pressing, and cutting as separate manual stations
- Factories whose quality complaints trace back to bond inconsistency or length variation — both are process problems that integration solves structurally, not by operator attention
The honest boundary: if your end insulation volume is occasional — a few repair jobs a month — the manual chain remains cheaper, and your capital is better spent on the parts you produce daily. Dedicated machines pay back through repetition, and this one is no exception. If your bonding need is oil-duct spacer curtains rather than winding end insulation, that is a different machine with a different process — this oil duct bonding installation in Korea shows what that route looks like.
What to Prepare Before Requesting a Quotation
Bonding quality depends on the match between machine, material, and adhesive, so a serious quotation starts from your actual inputs:
- Strip dimensions — confirm your pressboard strips sit inside 1–2 mm × 7–20 mm, or flag the deviation
- Part drawing — finished length, layer structure, and tolerance
- Bonding paper spec — width and roll inner diameter (standard rolls are 20–40 mm wide, Φ76 mm ID)
- Batch quantity and takt target — daily volume determines whether 12–17 m/min is headroom or a constraint
- Adhesive type — bonding behavior under heat varies; ask for a sample run on your material before acceptance
That last point is the one buyers skip most often. Bond strength cannot be judged from a datasheet — it has to be felt on a sample made from your strips, your paper, and your adhesive. Any supplier confident in the machine will run that test gladly.
Producing winding end insulation in volume? Send your part drawing and strip dimensions, and we will confirm the machine’s fit and arrange a sample bonding run.